How to Send Microsoft Teams Company Notifications Using Webhooks and Power Automate
Last updated: December 3, 2025
Important Note:
This guide walks you through how to use Microsoft Power Automate to send webhook data as notifications in Microsoft Teams.
Real-time notifications are supported in Warm Chat, when using the Warmly Webhook to trigger a Microsoft Teams notification via Power Automate.
Orchestrations are not real-time, and typically take 30–60 minutes to run after the trigger is activated.
1. Access Microsoft Power Automate Premium
Make sure you have access to Power Automate Premium ($15/month as of March 2025 — a free trial is available).
Sign in, then follow these steps:
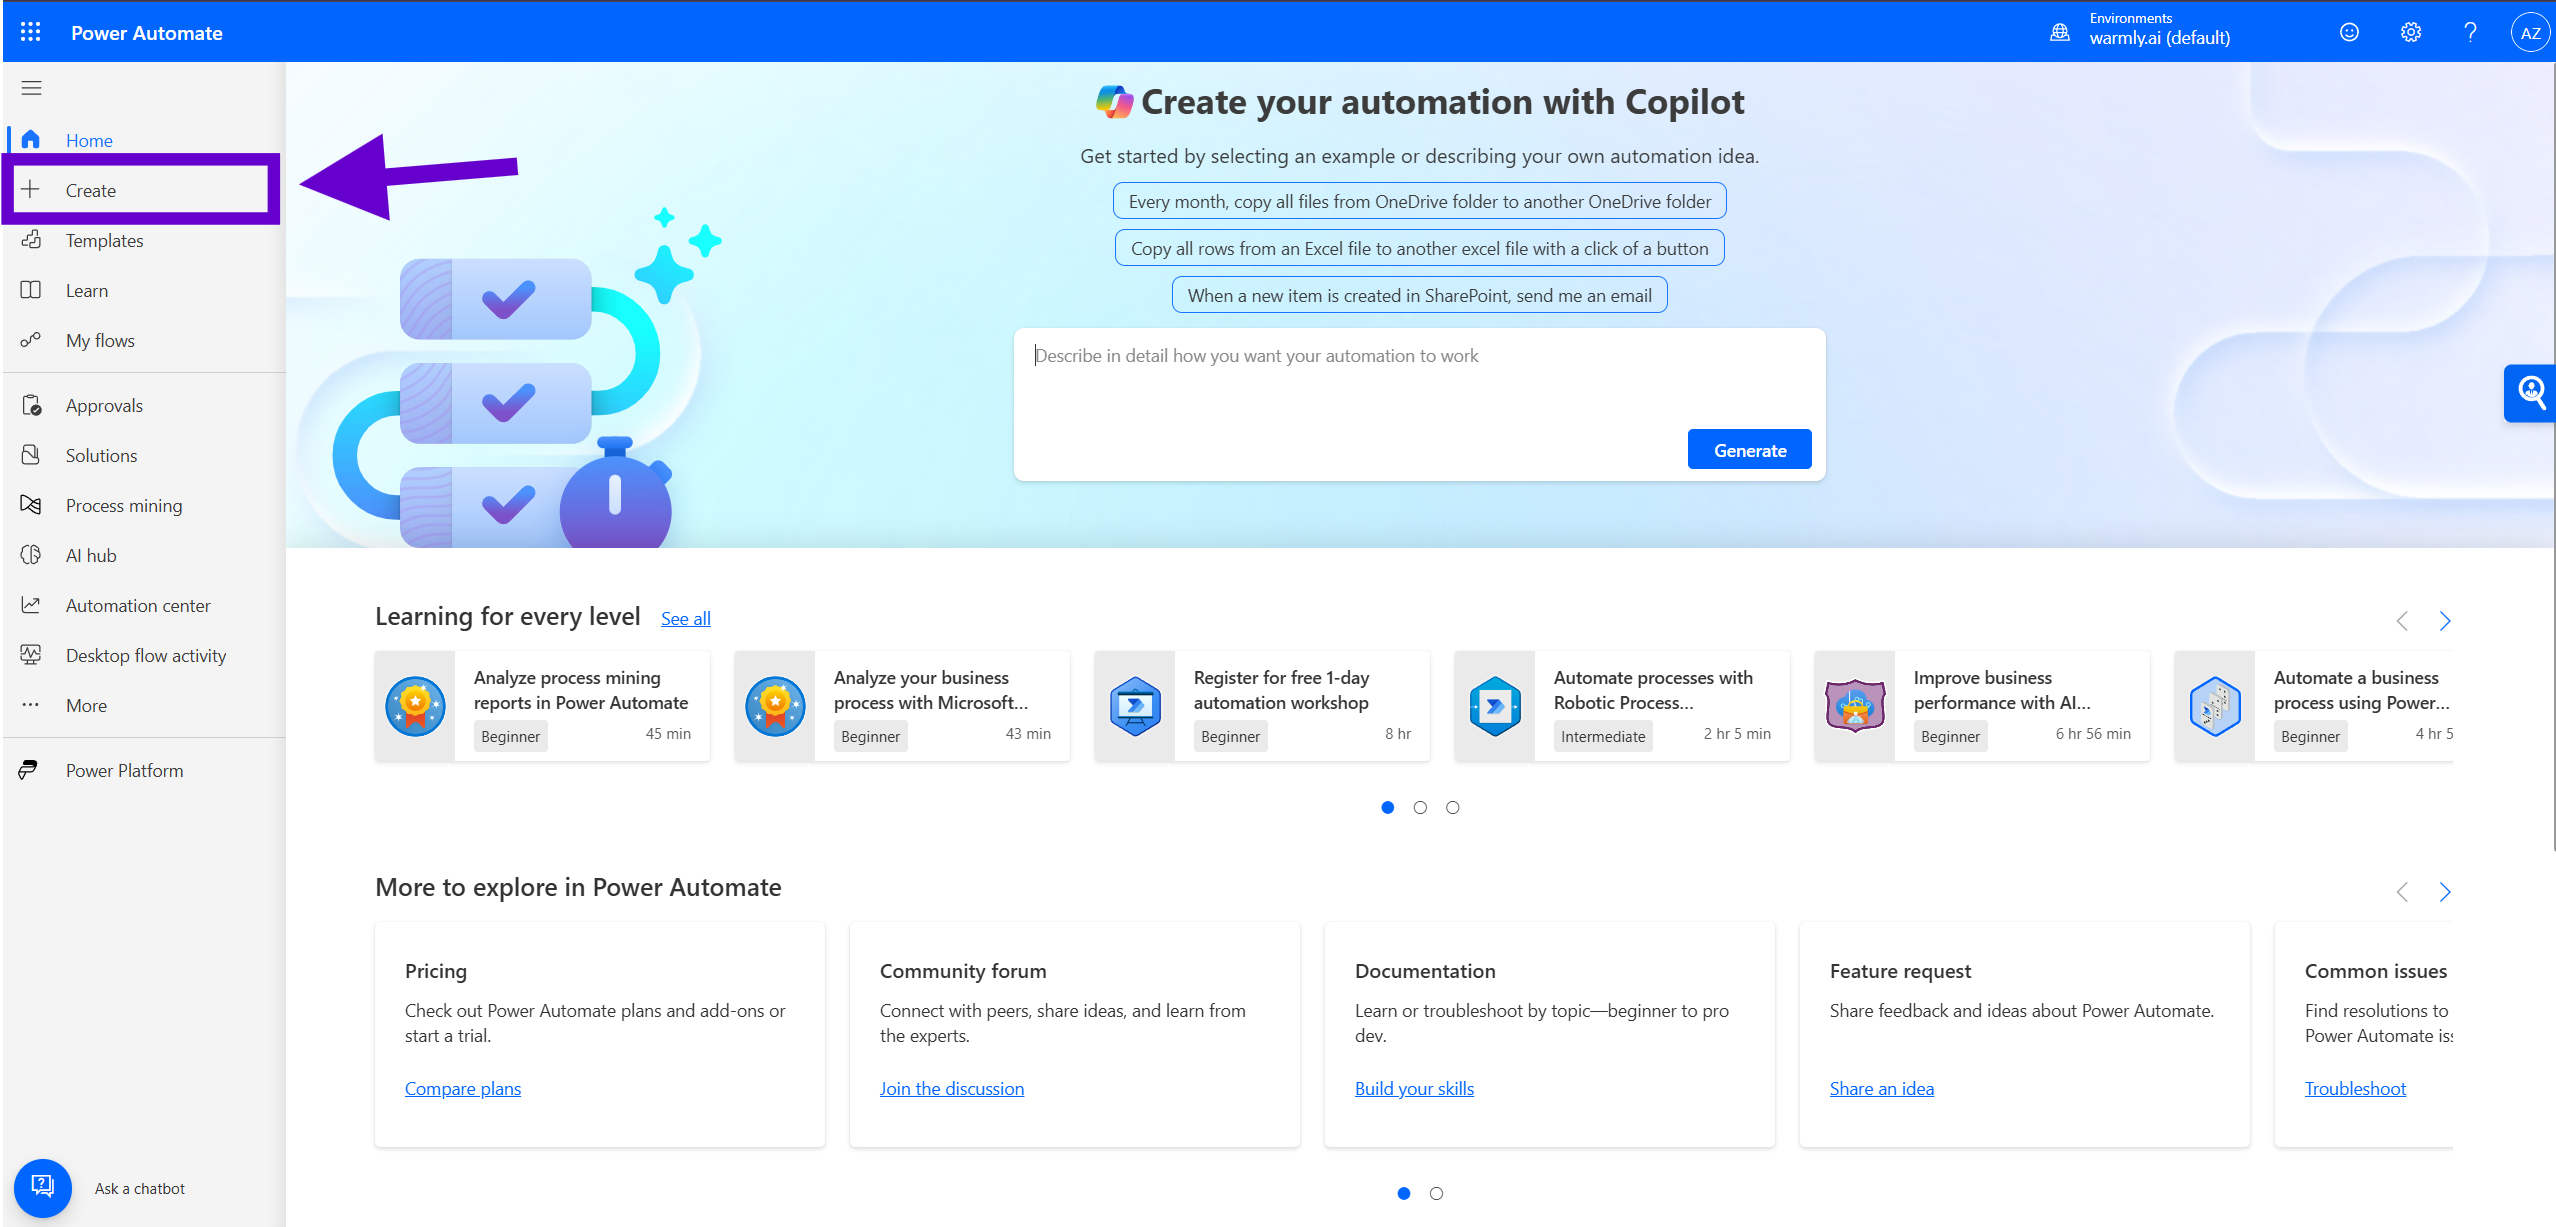
Click Create in the left-hand menu
Choose Instant cloud flow
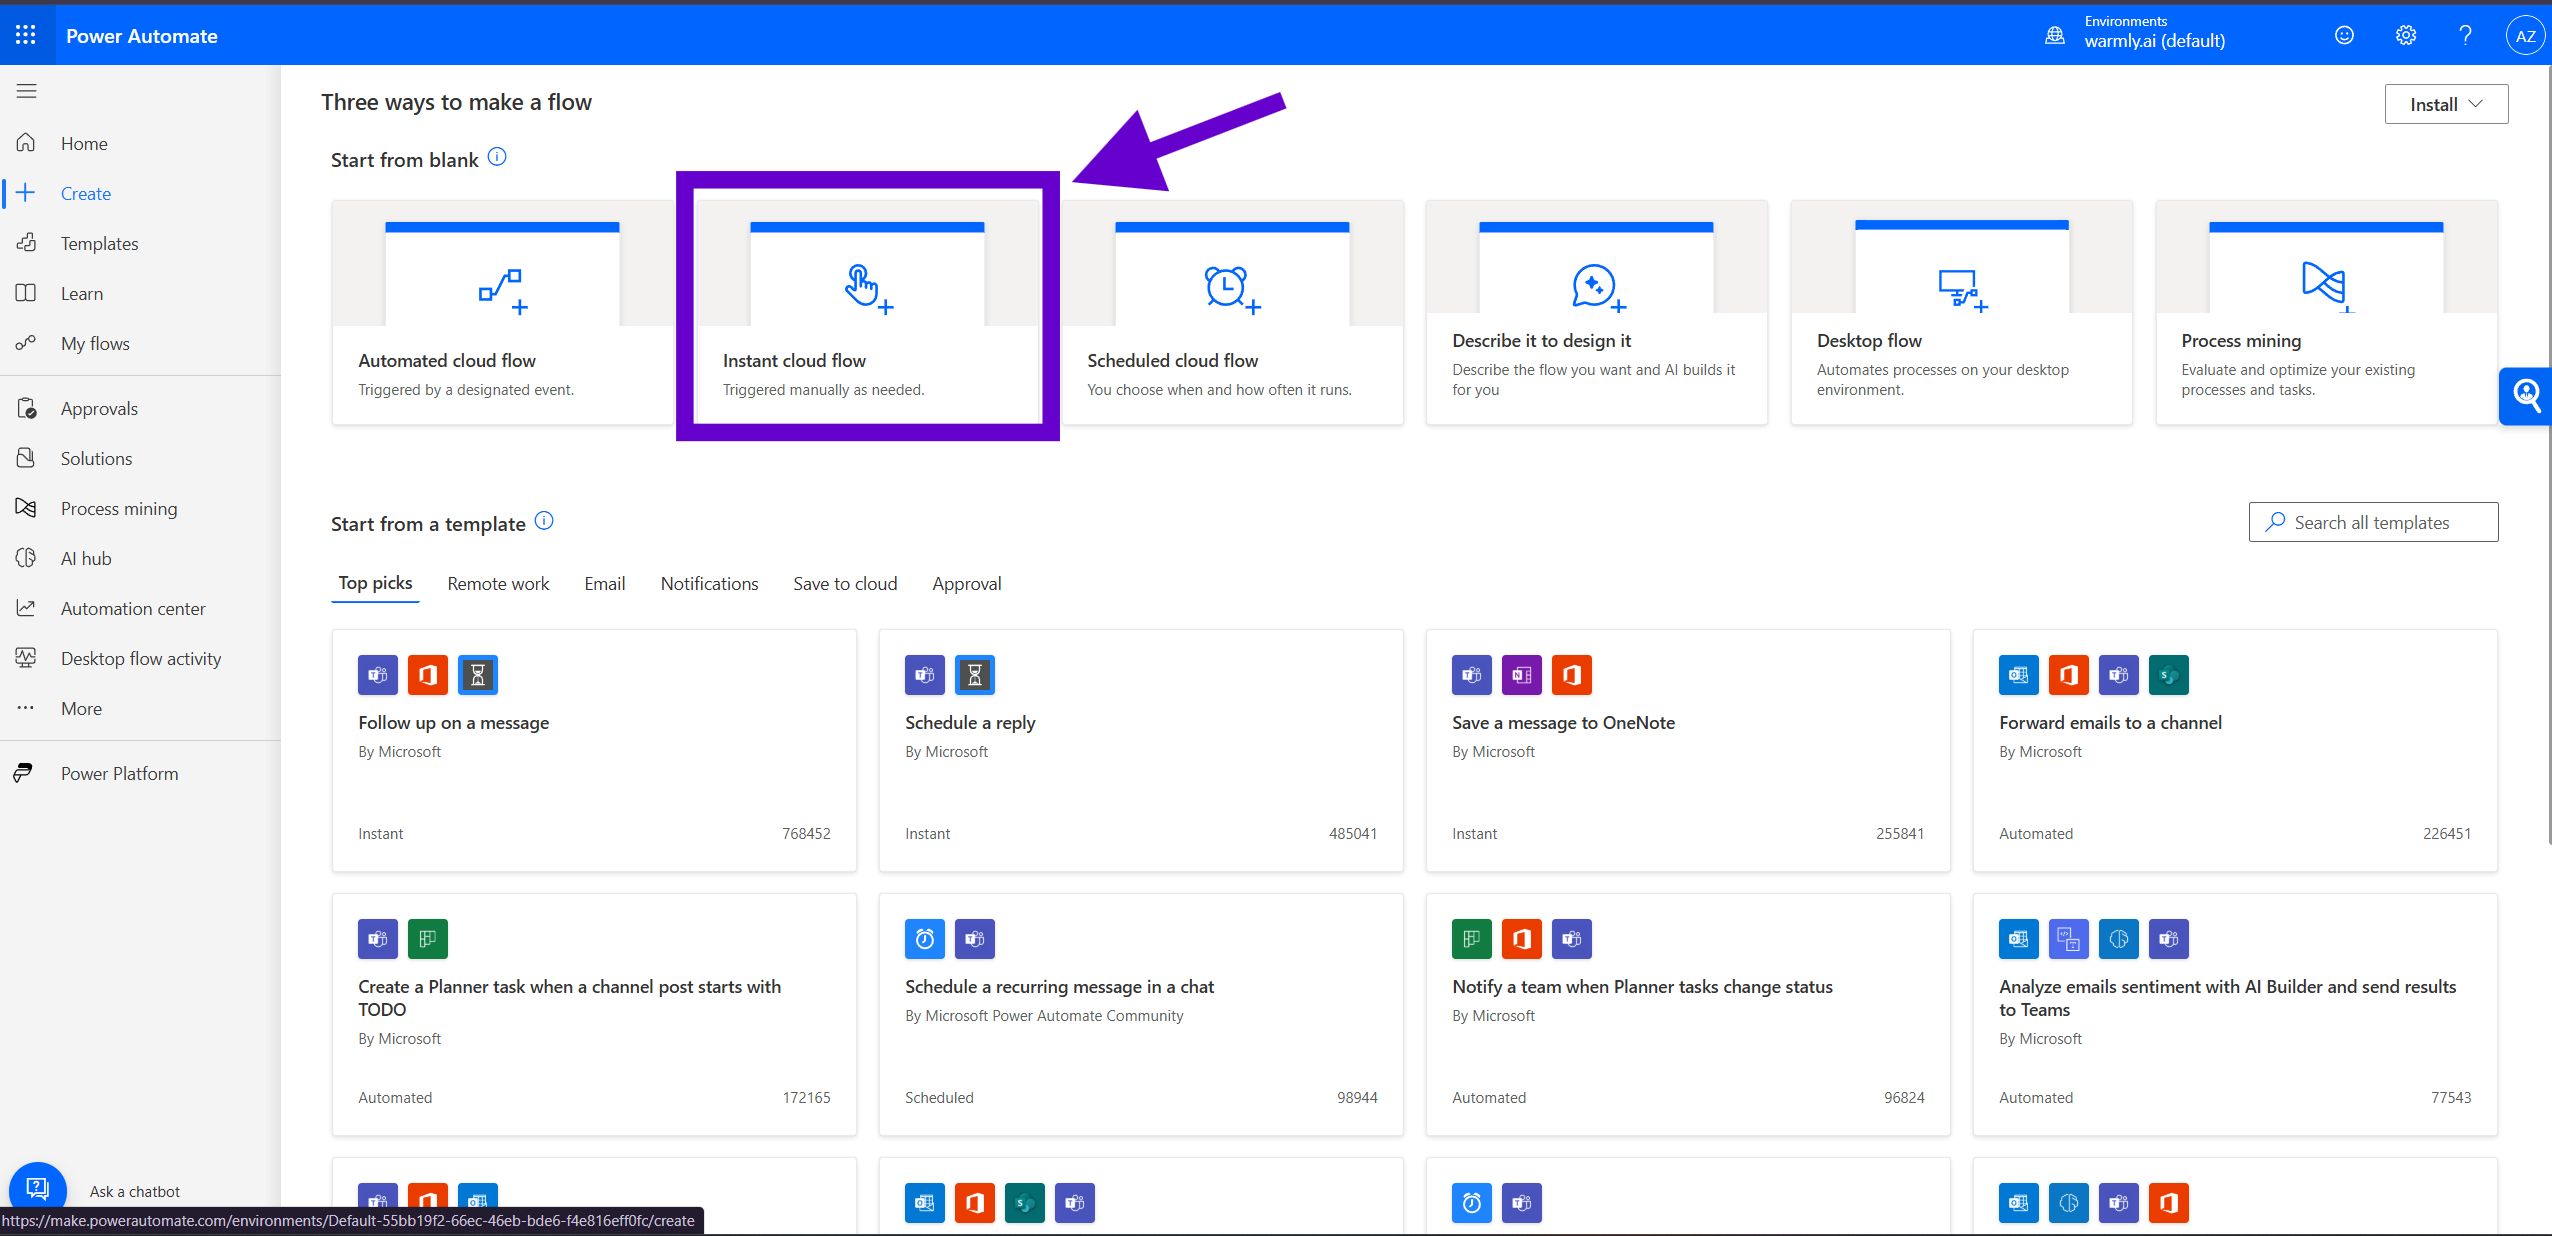
Click Skip to start from a blank flow
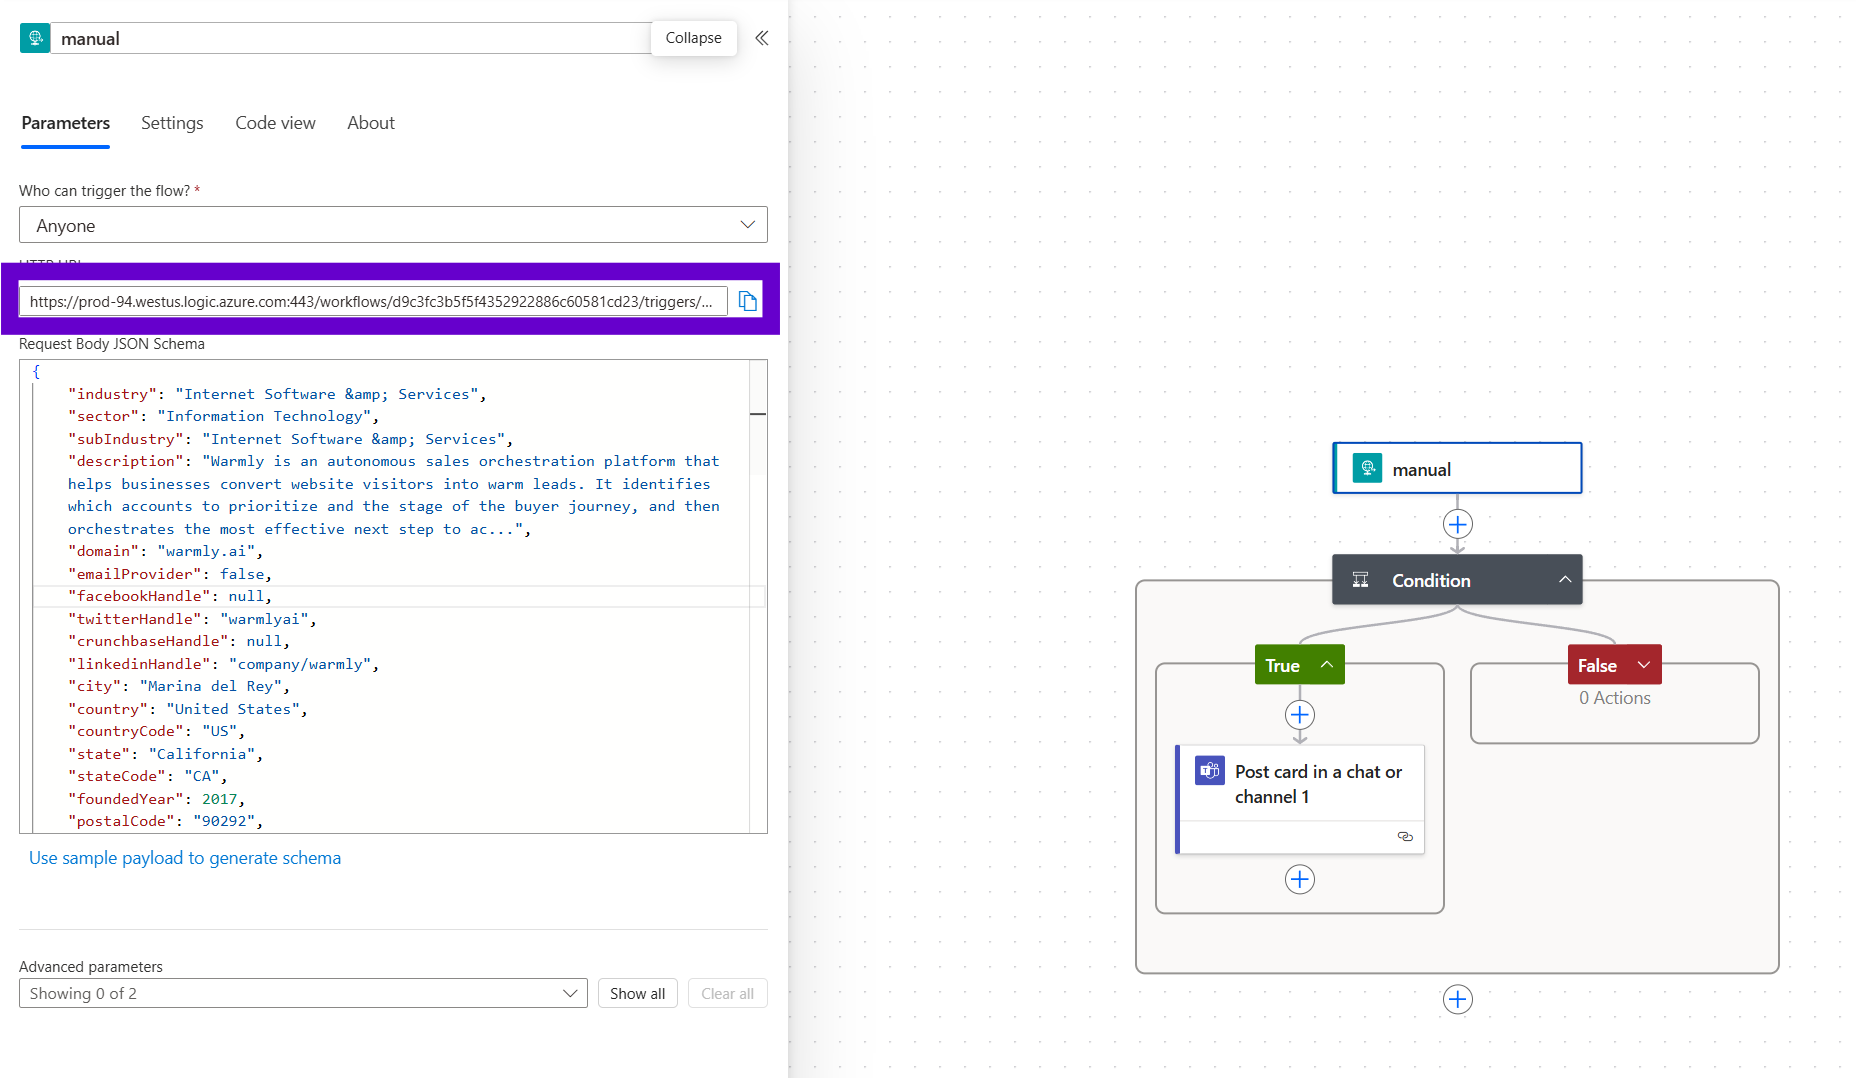
For the trigger, search for "When an HTTP request is received"
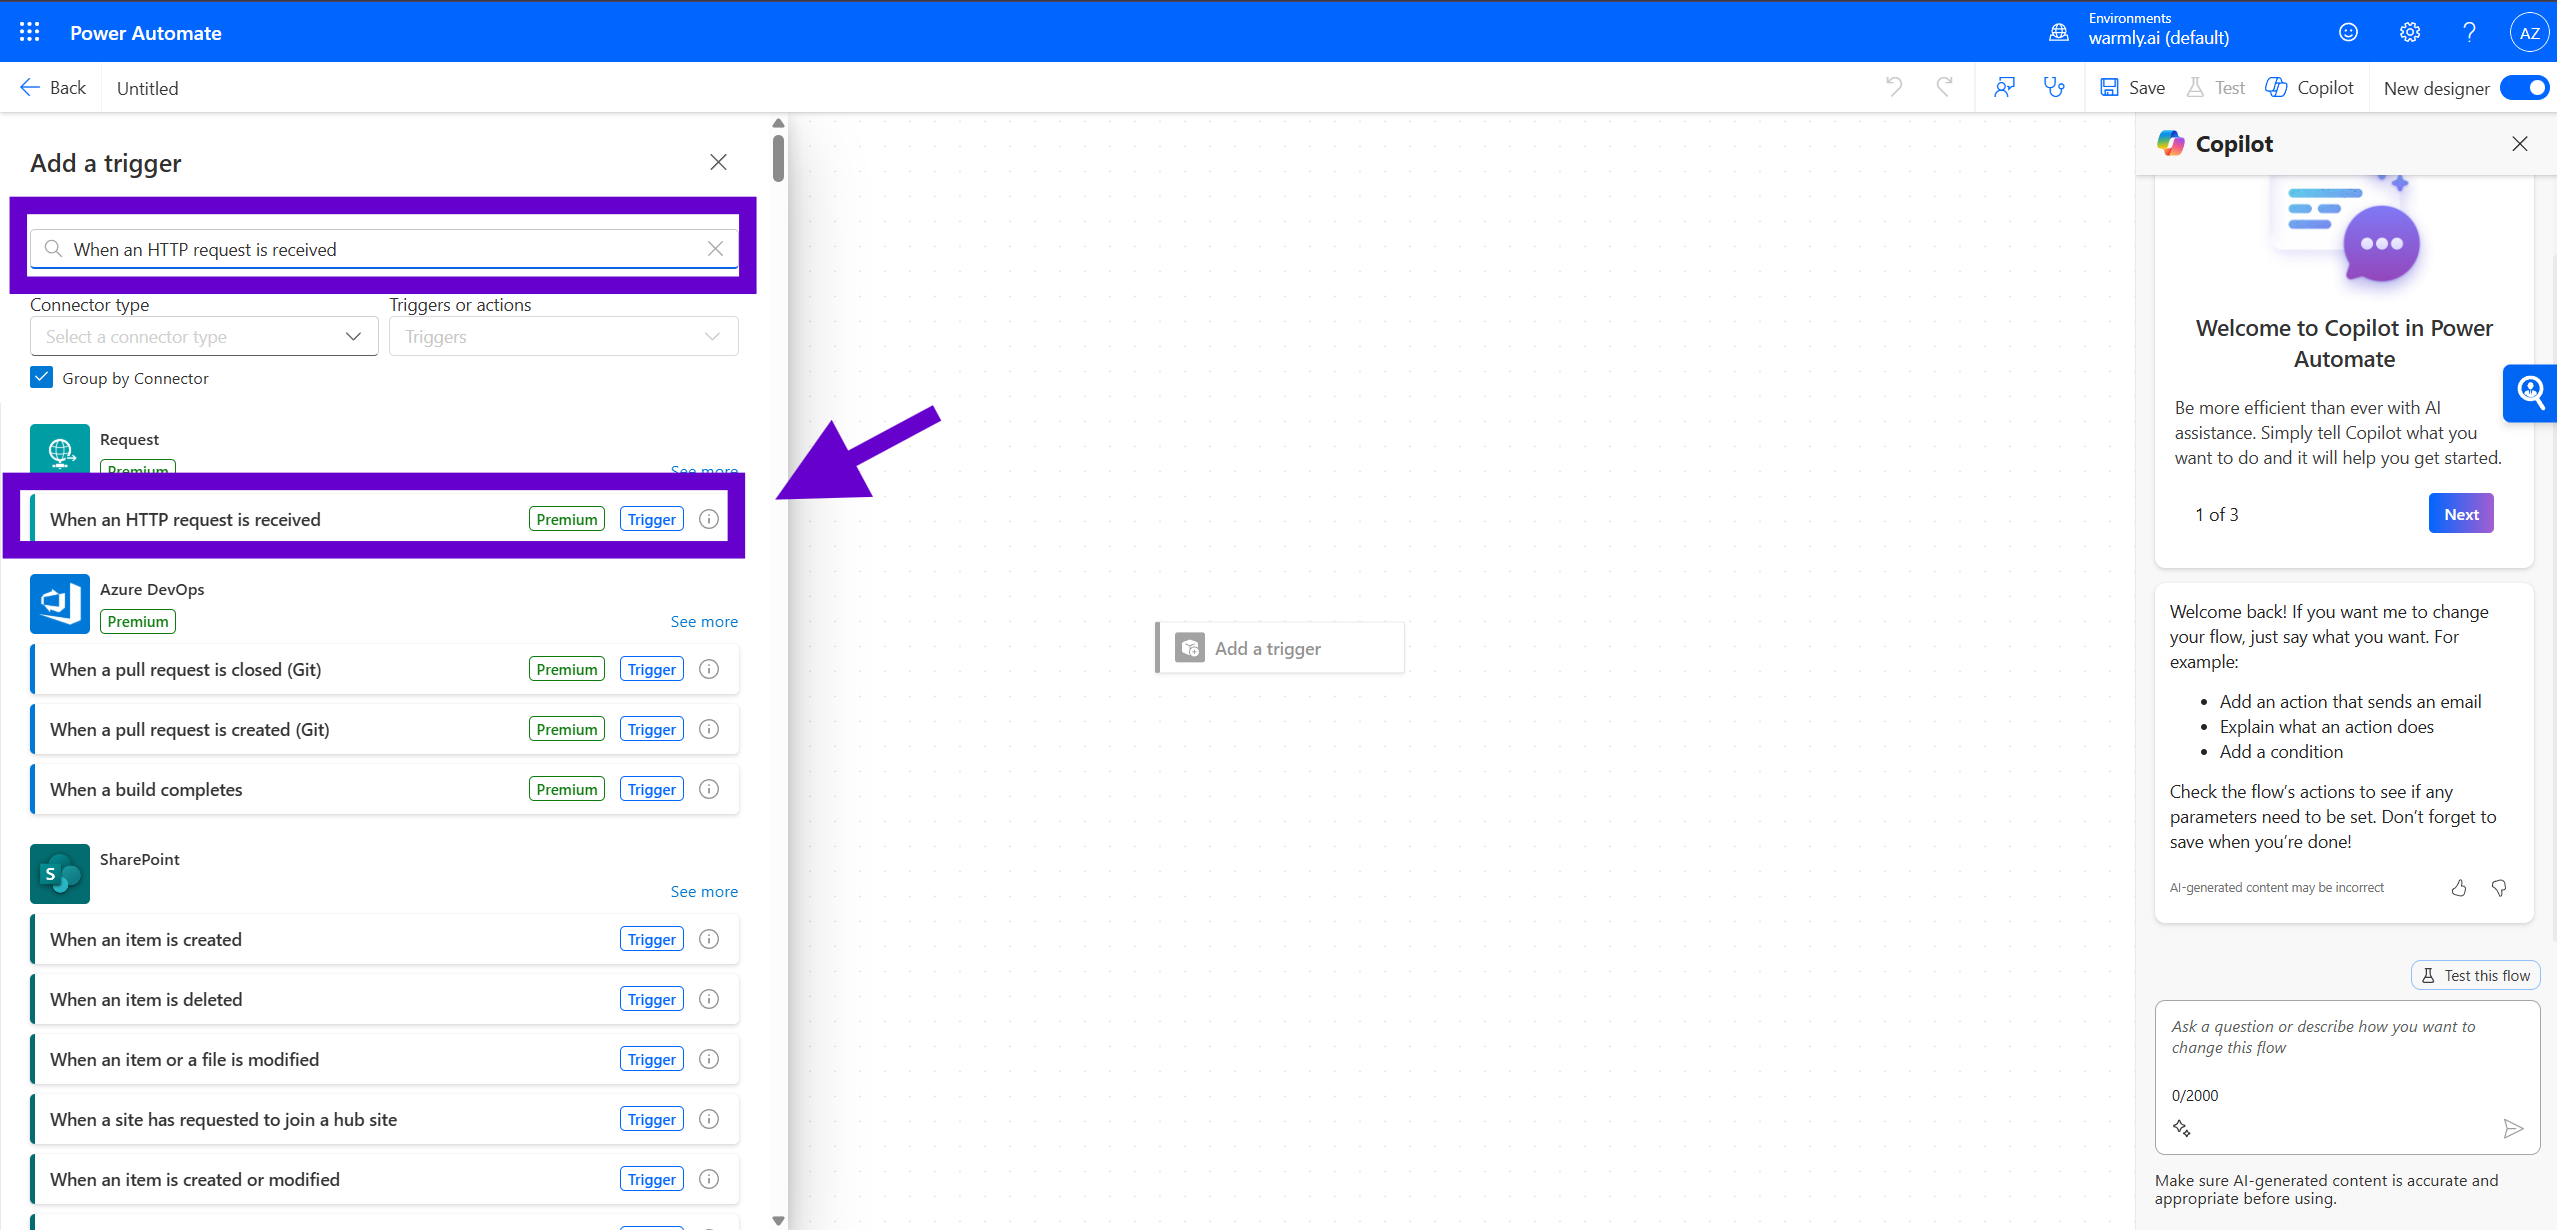
For the "Who can trigger the flow" field, set it to Anyone

Once you select this trigger, Power Automate will generate a unique webhook URL after saving the flow. This is the URL you’ll paste into your orchestrator webhook sender.
2. (Optional) Define the Expected Schema
In the "When an HTTP request is received" step, click "Use sample payload to generate schema" and paste in the following JSON to define the expected structure:
{
    "industry": "Internet Software & Services",
    "sector": "Information Technology",
    "subIndustry": "Internet Software & Services",
    "description": "Warmly is an autonomous sales orchestration platform that helps businesses convert website visitors into warm leads. It identifies which accounts to prioritize and the stage of the buyer journey, and then orchestrates the most effective next step to ac...",
    "domain": "warmly.ai",
    "emailProvider": false,
    "facebookHandle": null,
    "twitterHandle": "warmlyai",
    "crunchbaseHandle": null,
    "linkedinHandle": "company/warmly",
    "city": "Marina del Rey",
    "country": "United States",
    "countryCode": "US",
    "state": "California",
    "stateCode": "CA",
    "foundedYear": 2017,
    "postalCode": "90292",
    "streetAddress": null,
    "streetName": "Washington Boulevard",
    "streetNumber": "475",
    "legalName": "Warmly Inc",
    "logo": "https://logo.clearbit.com/warmly.ai",
    "employeesRange": "1-10",
    "employeesNumber": 5,
    "fiscalYearEnd": null,
    "annualRevenue": null,
    "estimatedAnnualRevenue": "$0-$1M",
    "marketCap": null,
    "alexaGlobalRank": 355981,
    "alexaUsRank": 71567,
    "utcOffset": -8,
    "timeZone": "America/Los_Angeles",
    "name": "Warmly",
    "parentDomain": null,
    "phone": null,
    "tags": [
        "Software",
        "Publishers",
        "Information",
        "Publishing",
        "Computer Programming",
        "Professional Services",
        "Computers",
        "E-commerce",
        "Technology",
        "Web Services & Apps",
        "Information Technology & Services",
        "Marketing & Advertising",
        "B2B",
        "SAAS",
        "B2C",
        "Mobile"
    ],
    "location": "475 Washington Blvd, Marina Del Rey, CA 90292, USA",
    "tech": [
        "google_tag_manager",
        "hotjar",
        "segment",
        "intercom",
        "sendgrid",
        "cloud_flare",
        "google_apps",
        "google_analytics",
        "piwik",
        "facebook_advertiser",
        "hubspot",
        "sixsense"
    ],
    "techCategories": [
        "tag_management",
        "website_optimization",
        "customer_data_platform",
        "live_chat",
        "email_delivery_service",
        "dns",
        "productivity",
        "analytics",
        "advertising",
        "marketing_automation",
        "account_based_marketing"
    ]
}
This ensures Power Automate can properly parse and use the incoming data.
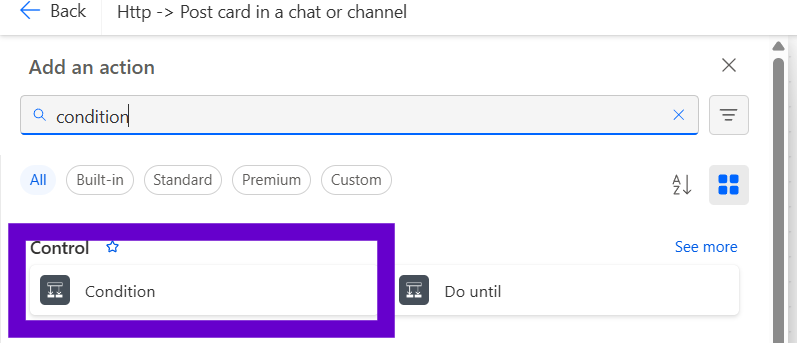
3. Add Logic to Filter Bad Data
Click New Step → Search for Condition.
In the first condition field:
Click Expression
Paste the following:
and(
  not(empty(triggerBody()?['name'])),
  or(
    not(empty(triggerBody()?['city'])),
    not(empty(triggerBody()?['state'])),
    not(empty(triggerBody()?['postalCode']))
  )
)
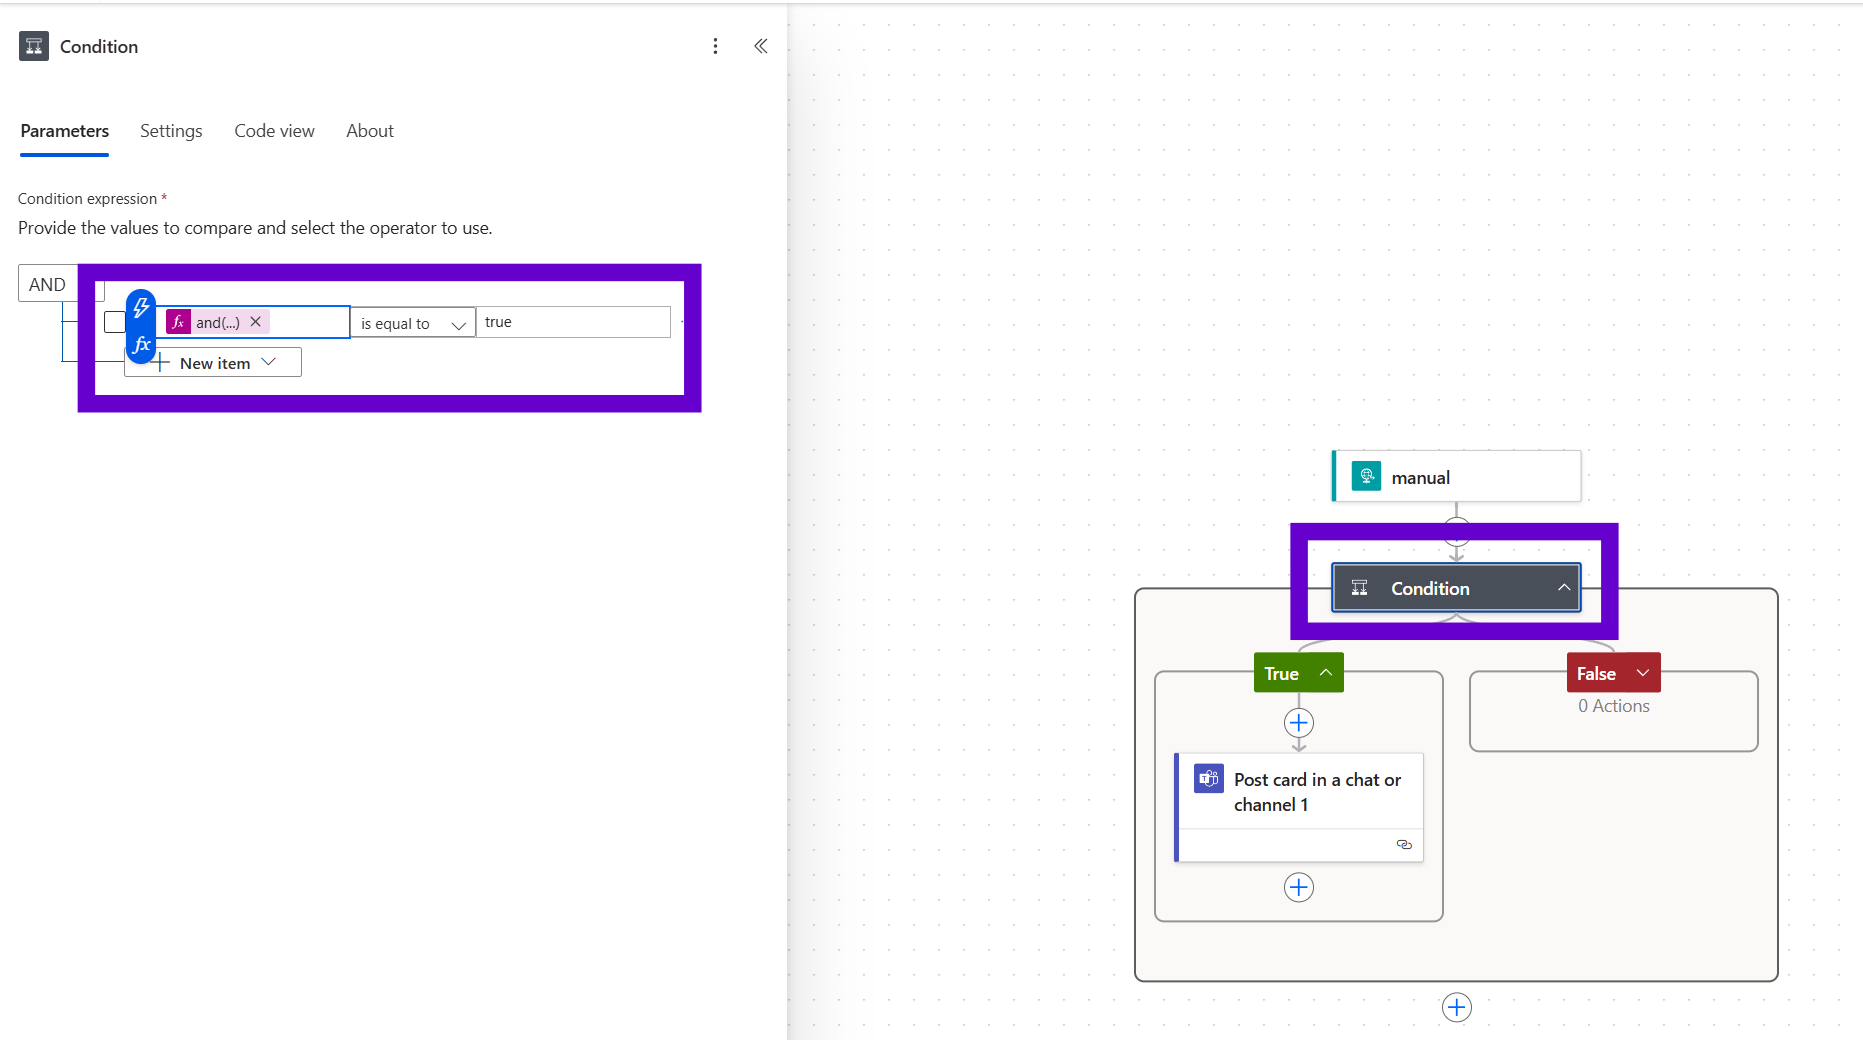
This ensures that only valid visitor data triggers a Teams message.
In the "is equal to" field, type
trueIf Yes → proceed to the next step to send a message
If No → leave the branch empty or log it
4. Send a Microsoft Teams Notification
Under the "Yes" branch, add the step: Post an Adaptive Card to a chat or channel.
Configure the step:
Team: Choose the Microsoft Teams workspace
Channel: Select the destination channel
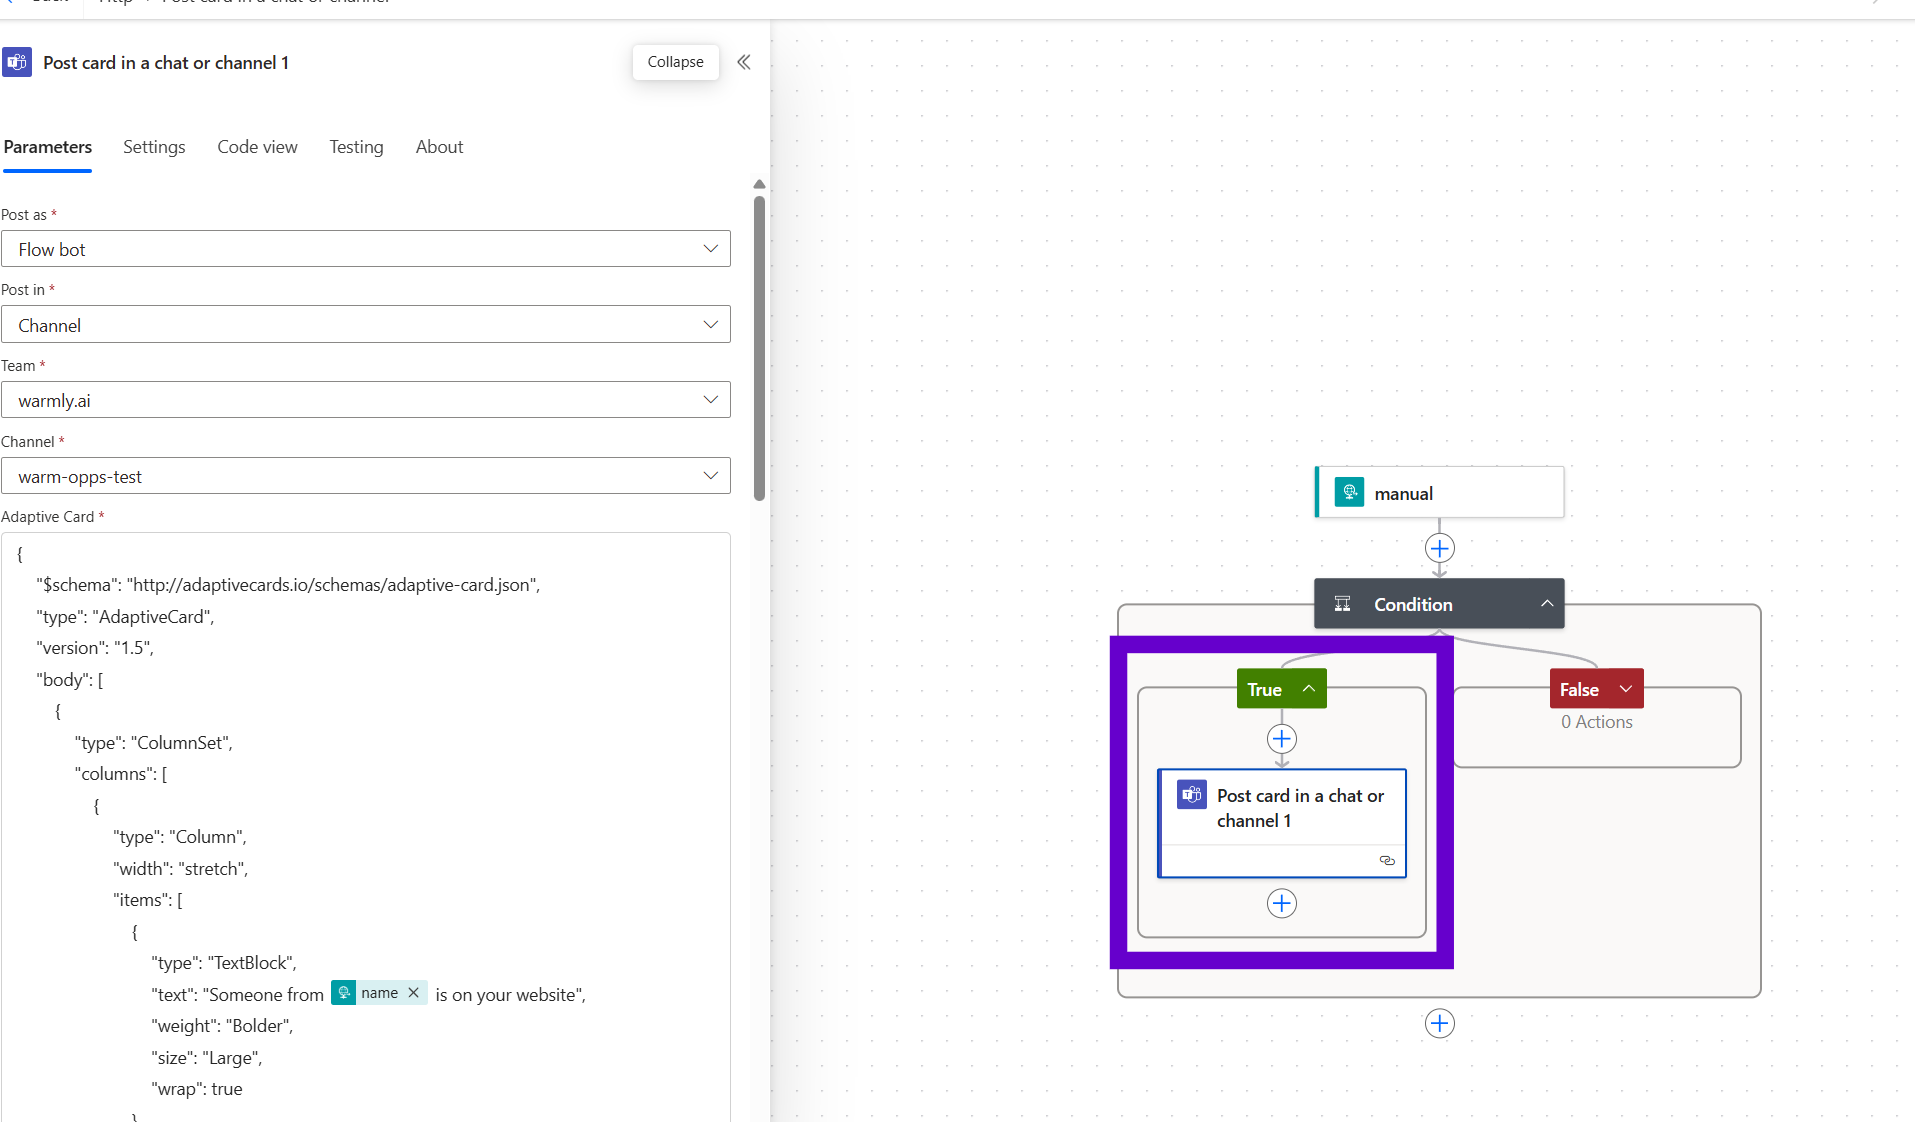
Paste this Adaptive Card JSON into the message field:
{
  "$schema": "<http://adaptivecards.io/schemas/adaptive-card.json>",
  "type": "AdaptiveCard",
  "version": "1.5",
  "body": [
    {
      "type": "ColumnSet",
      "columns": [
        {
          "type": "Column",
          "width": "stretch",
          "items": [
            {
              "type": "TextBlock",
              "text": "Someone from @{triggerBody()?['name']} is on your website",
              "weight": "Bolder",
              "size": "Large",
              "wrap": true
            }
          ]
        },
        {
          "type": "Column",
          "width": "auto",
          "items": [
            {
              "type": "Image",
              "url": "@{triggerBody()?['logo']}",
              "size": "Medium",
              "horizontalAlignment": "Right"
            }
          ]
        }
      ]
    },
    {
      "type": "TextBlock",
      "text": "Location: @{triggerBody()?['city']}, @{triggerBody()?['state']}, @{triggerBody()?['postalCode']}",
      "wrap": true
    },
    {
      "type": "TextBlock",
      "text": "First seen visiting: [@{triggerBody()?['Captured URL']}](@{triggerBody()?['Captured URL']})",
      "wrap": true
    },
    {
      "type": "ActionSet",
      "actions": [
        {
          "type": "Action.OpenUrl",
          "title": "View Session",
          "url": "@{triggerBody()?['Session URL']}"
        }
      ]
    },
    {
      "type": "TextBlock",
      "text": "About [@{triggerBody()?['name']}](@{triggerBody()?['domain']})",
      "weight": "Bolder",
      "spacing": "Medium"
    },
    {
      "type": "TextBlock",
      "text": "Company size: @{triggerBody()?['employeesRange']} employees",
      "wrap": true
    },
    {
      "type": "TextBlock",
      "text": "Industry: @{triggerBody()?['industry']}",
      "wrap": true
    }
  ]
}
5. Finalize & Test
Click Save to finalize your Power Automate Flow.
Copy the HTTP POST URL generated by the trigger step
Paste it into the Orchestrator webhook configuration
Click Done, then Publish in the orchestrator platform
Your setup is now live! ✅
Every time a valid orchestrator event is triggered, a formatted notification will be posted to your selected Microsoft Teams channel.